Quick Release Fire Extinguisher Mount Instructions
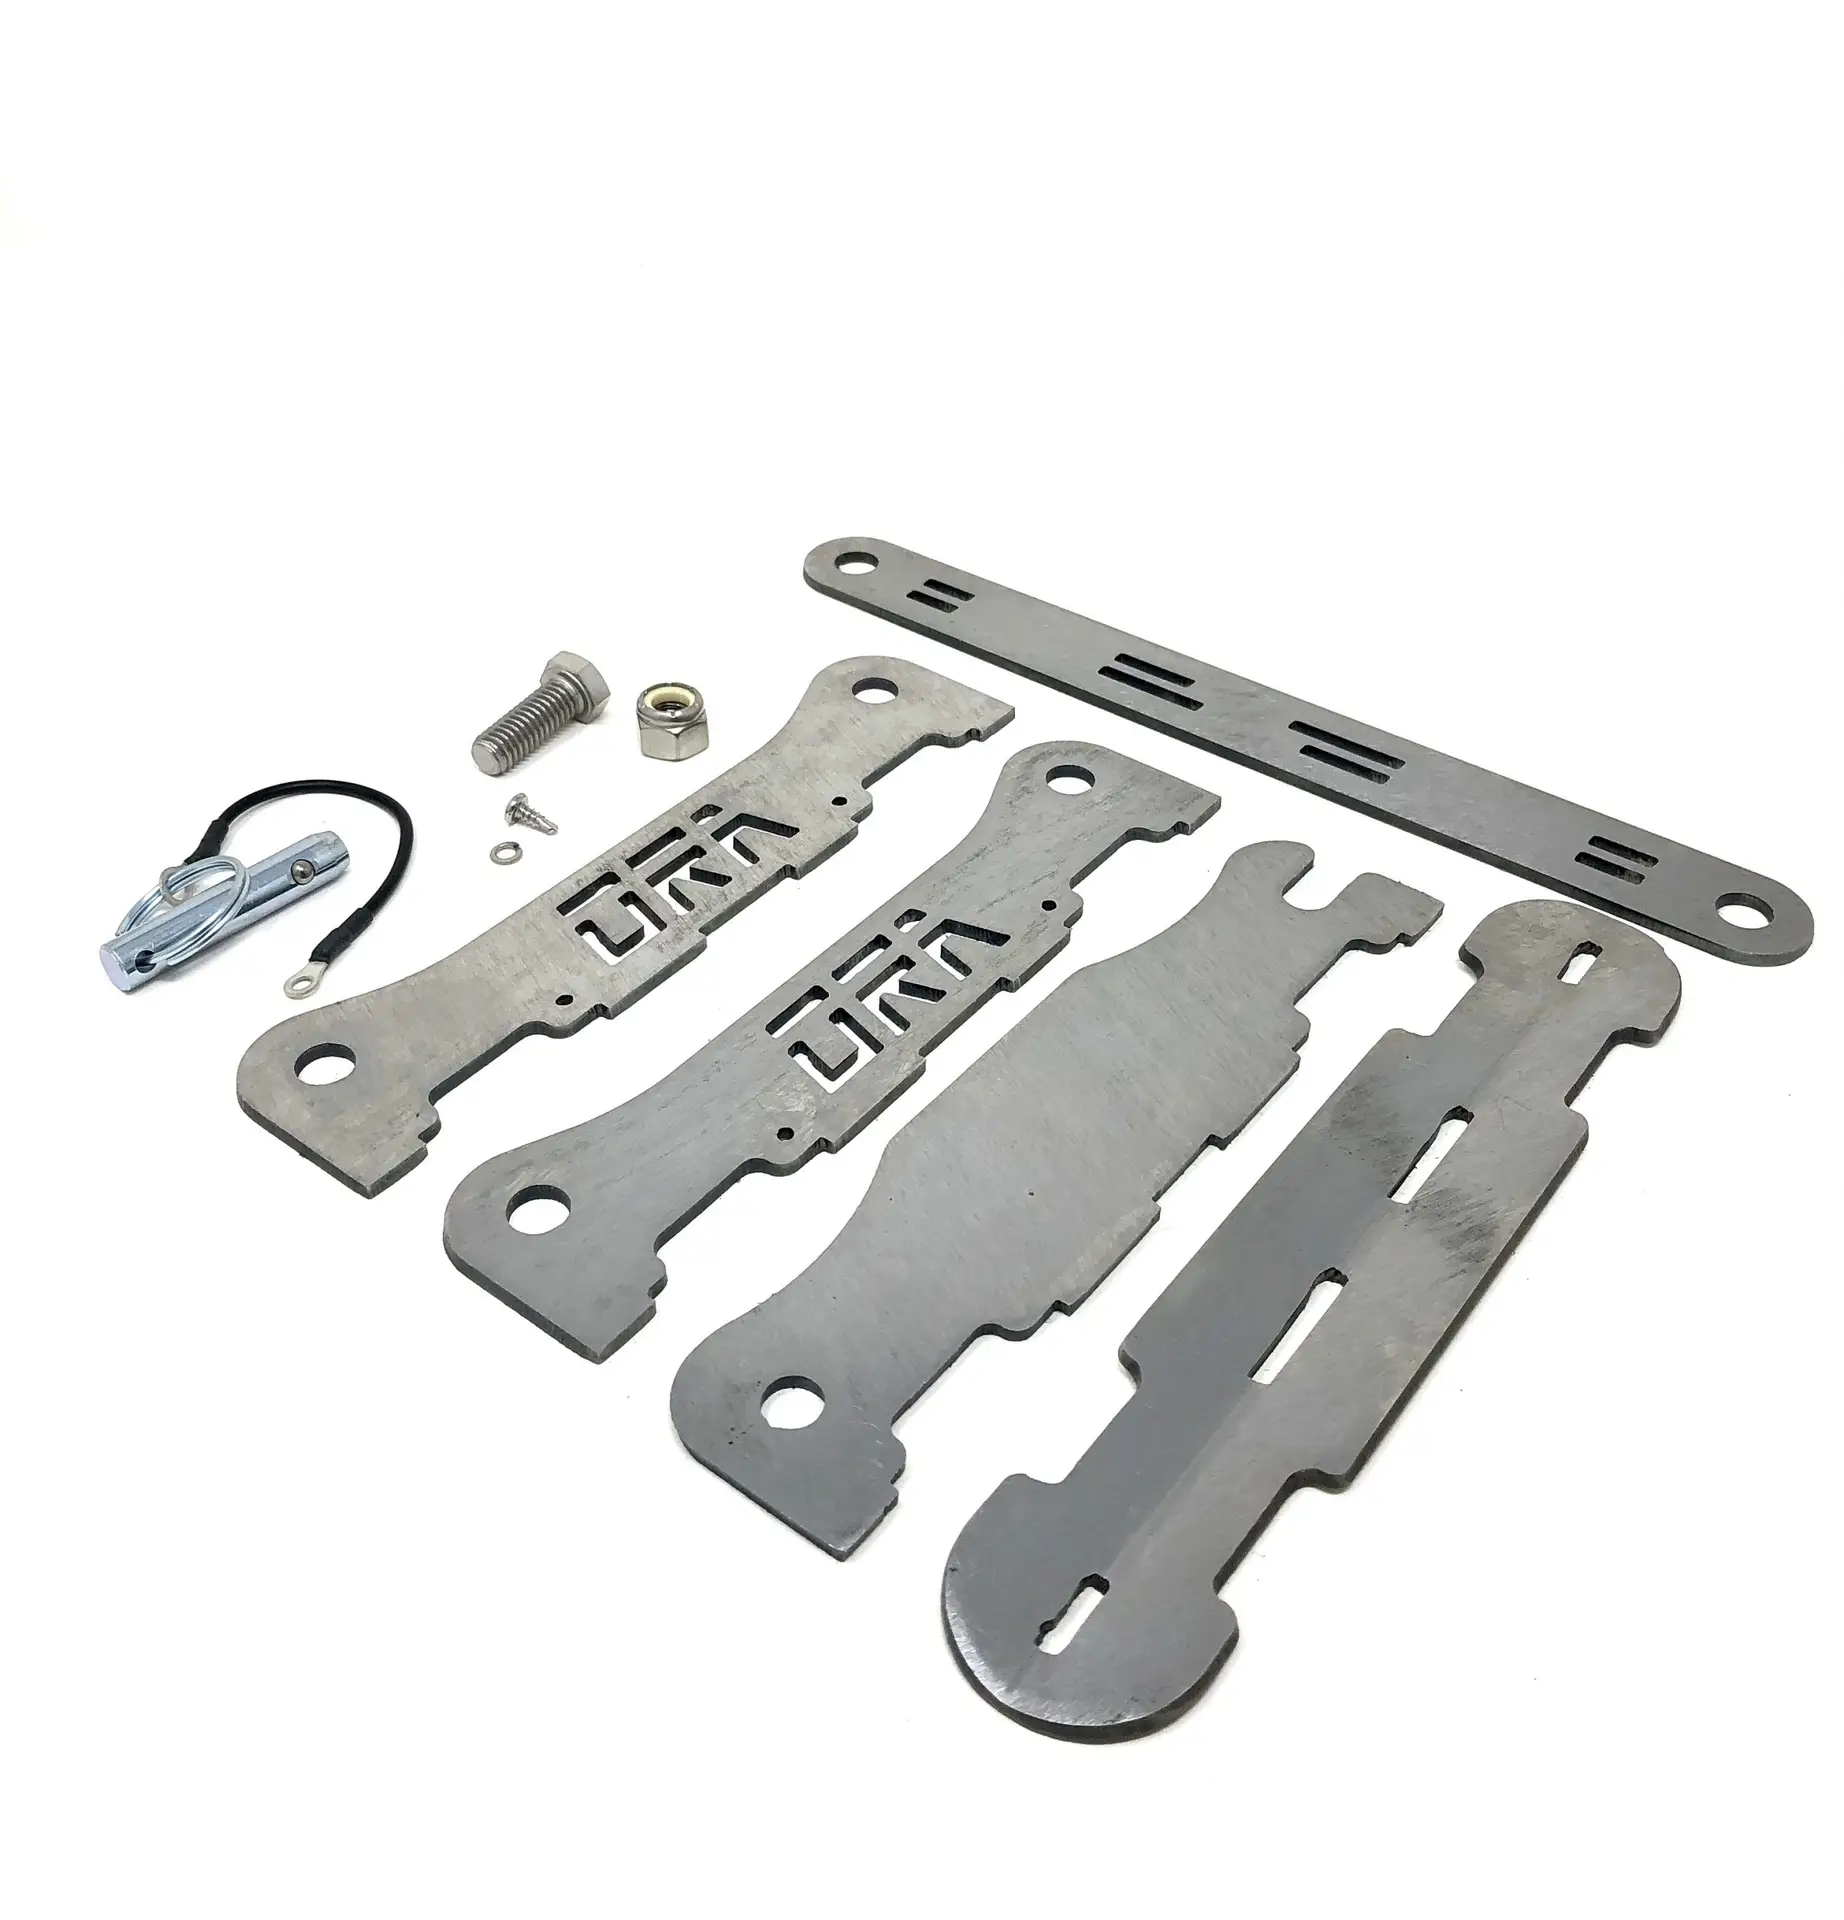
Fire Extinguisher Mount Kit Contents:
5 – 1/8″ thick plates
1 – Release pin
1 – 3/8″ stainless bolt
1 – 3/8″ stainless nylock nut
1 – #6 stainless lock washer
1 – #6 stainless screw
1 – safety wire
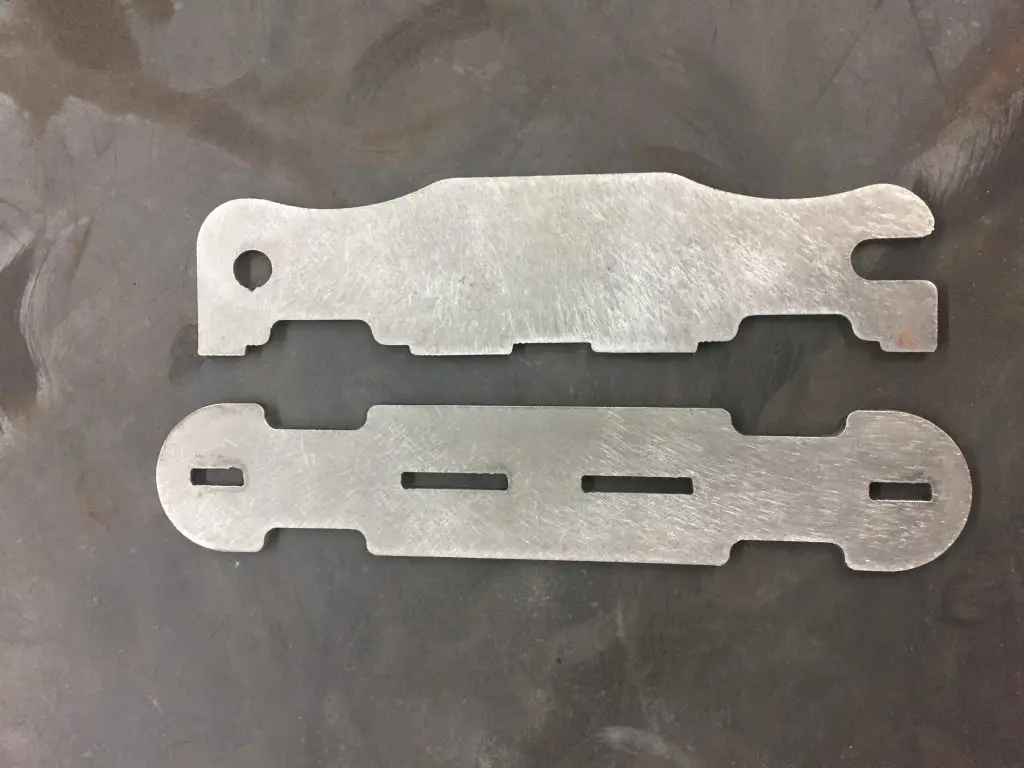
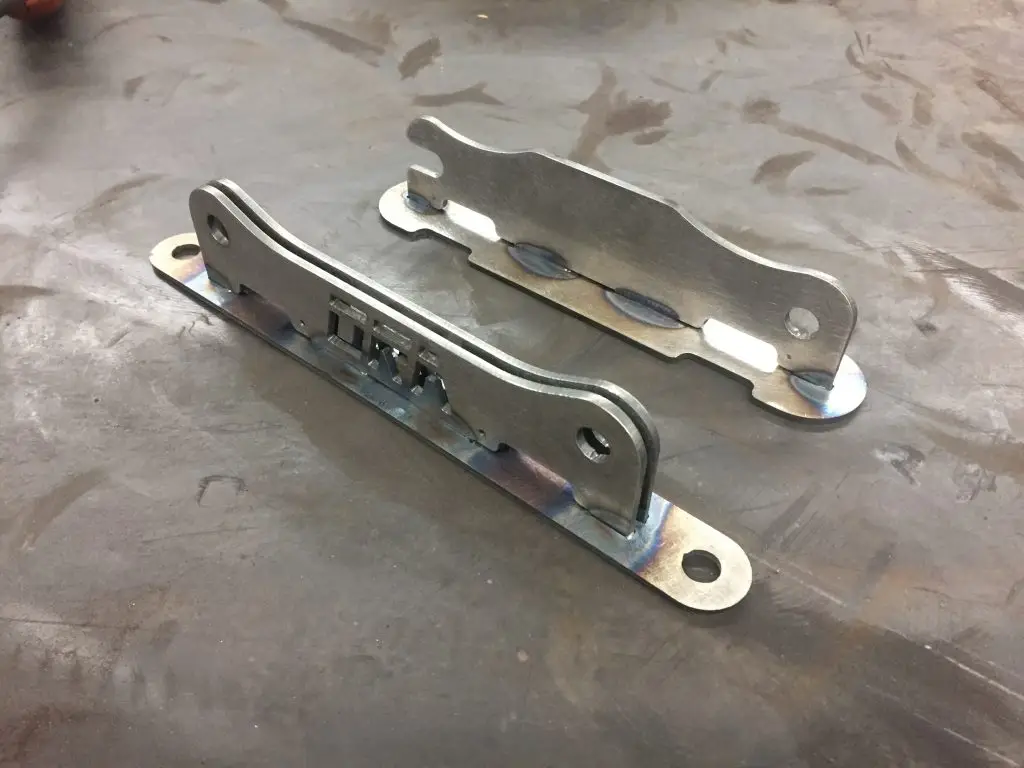
Step 1:
Align the two pieces pictured into the slots.
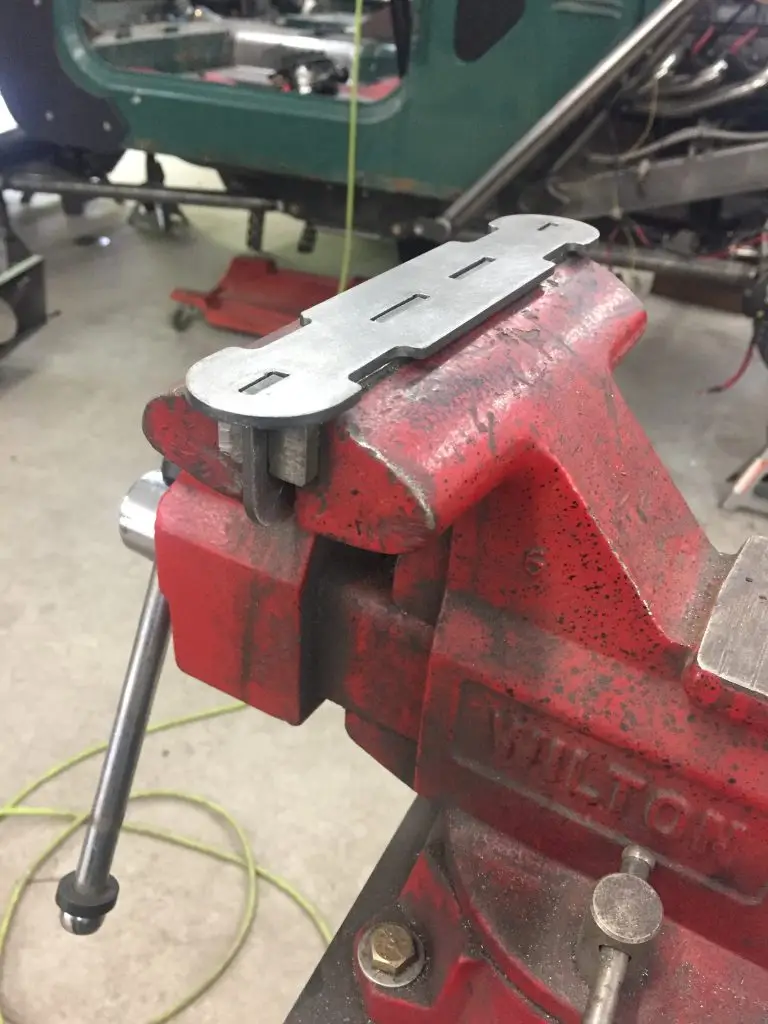
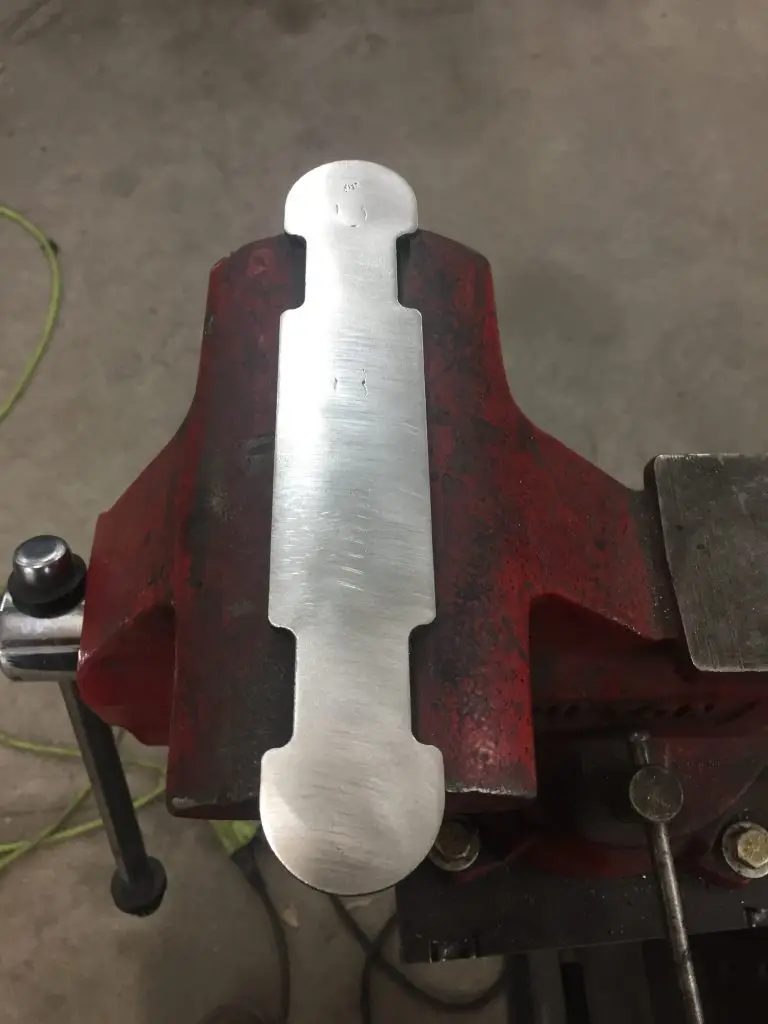
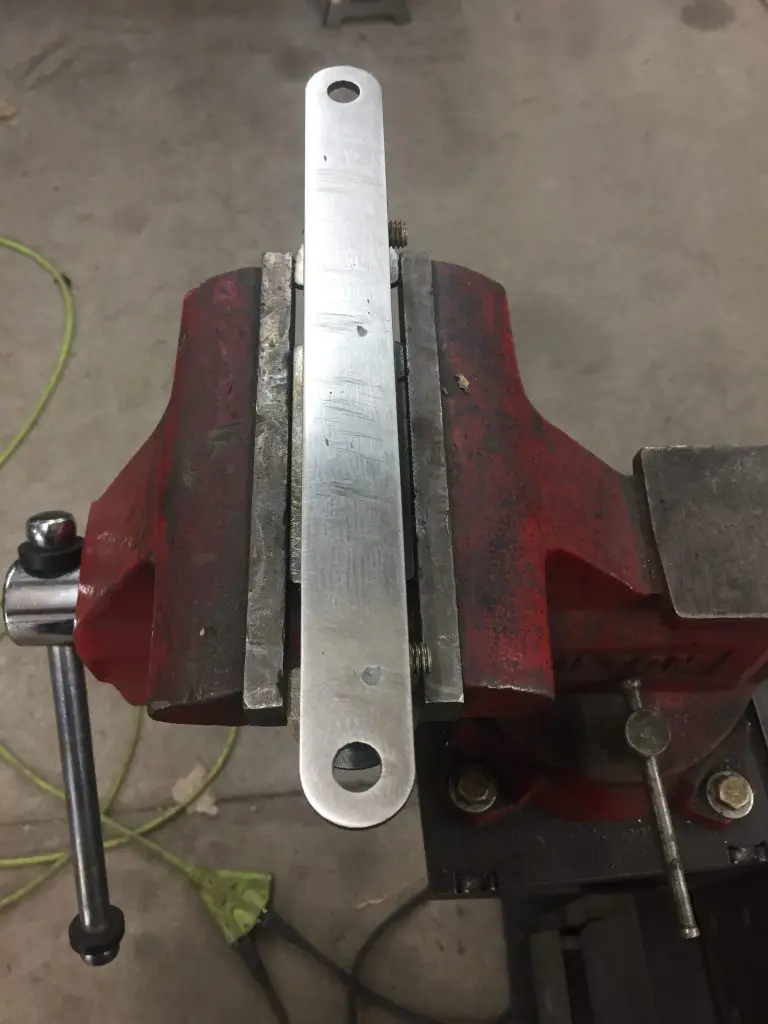
Step 2:
Place the two plates in a vice to help hold the two plates square with each other. Now you can weld the slots. Then grind the welds for a smooth finish.
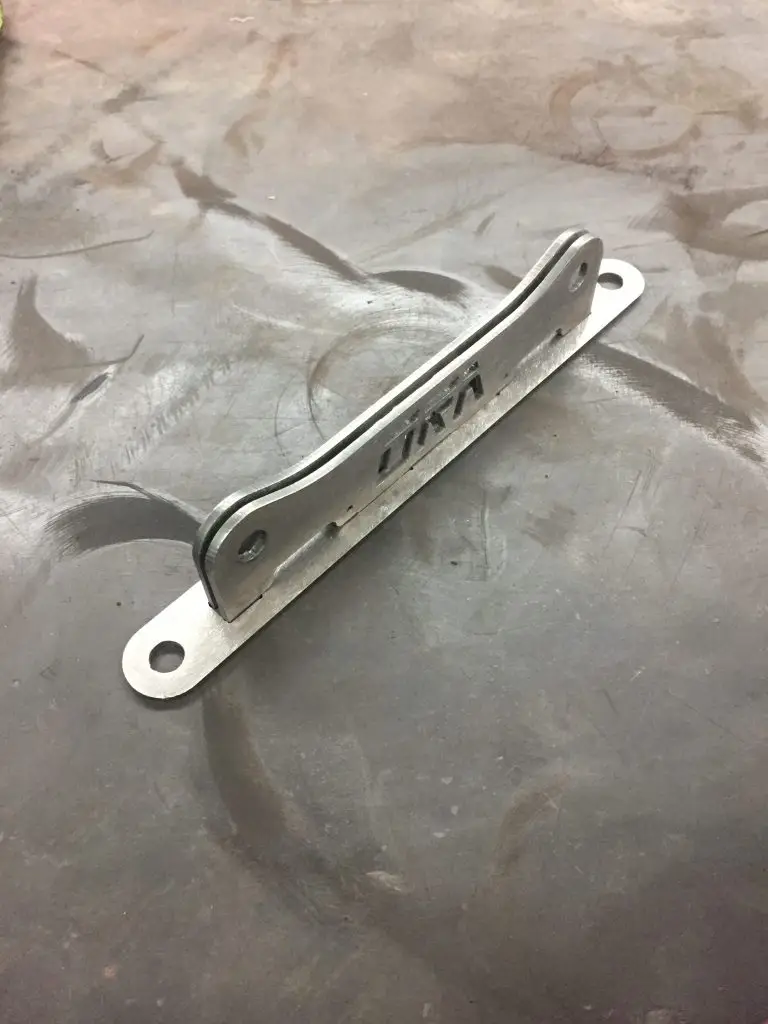
Step 3:
Take remaining three 1/8" plates and push them into the slots. Make sure to have the letters facing out.
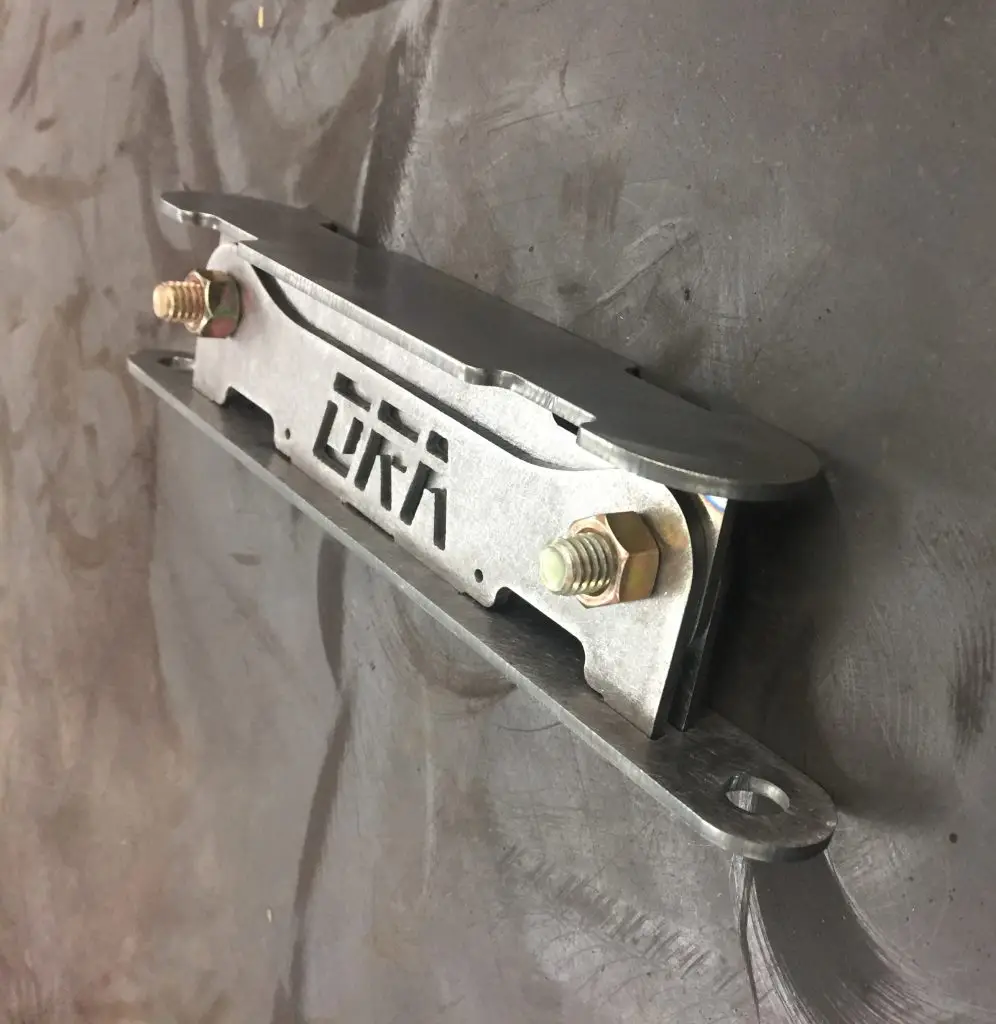
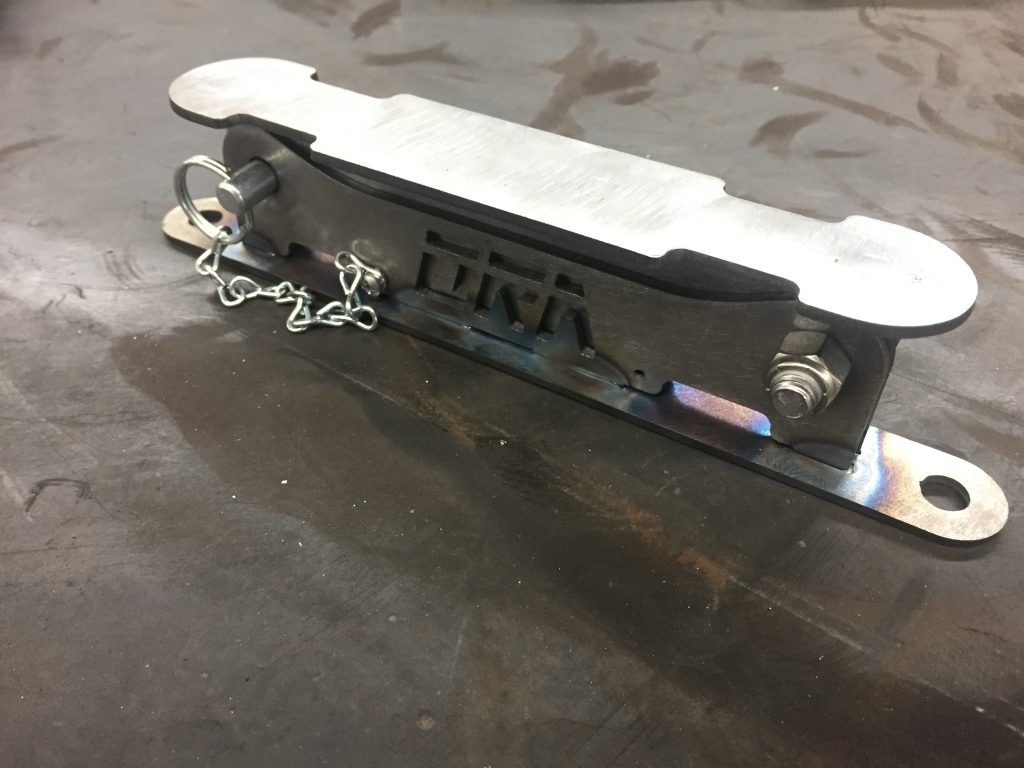
Step 4:
Take the other half of the mount once cool from welding and place in between the plates like pictured. Take two 3/8" bolts and install into both ends loosely. Don't tighten them, just finger tight, you want some play to allow the two parts to slide into each other.
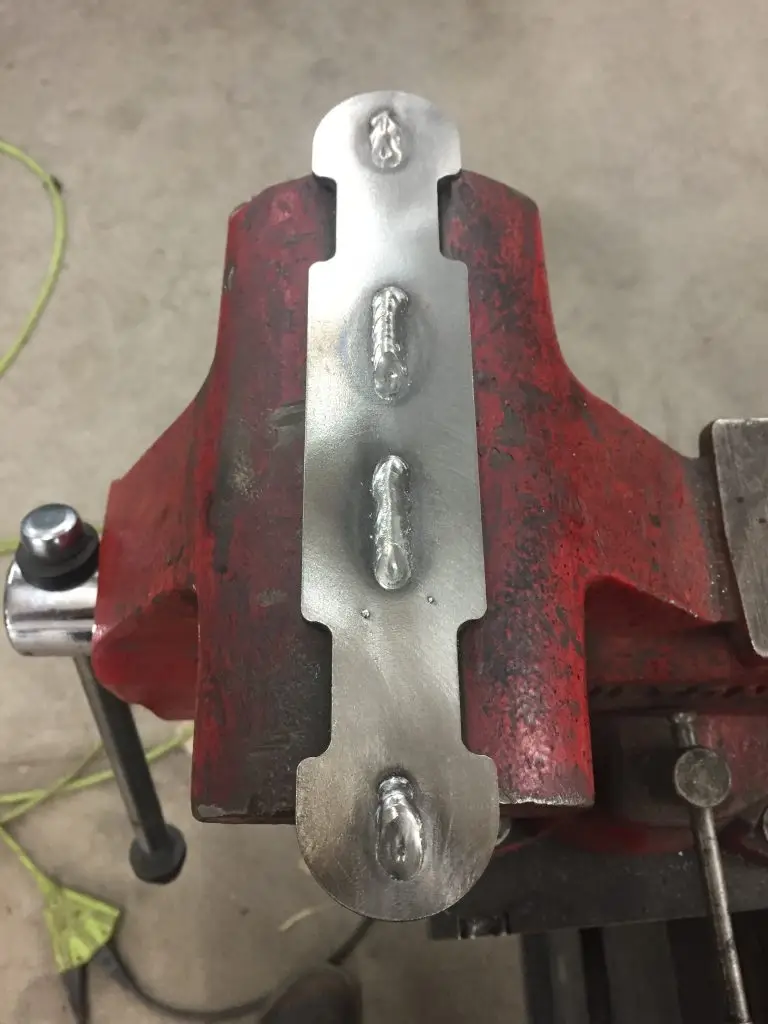
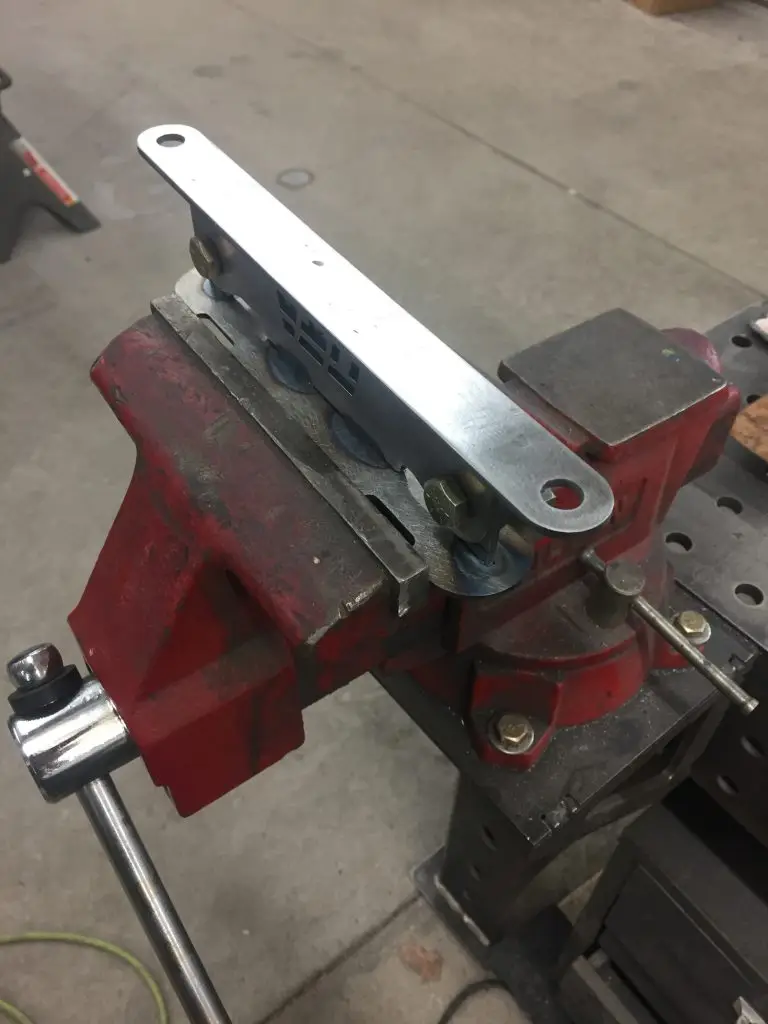
Step 5:
Now you can weld the 8 slots from the back side like step 2. Double check that every thing is straight before welding. Once welded and cooled you can grind the welds for smooth flat finish.
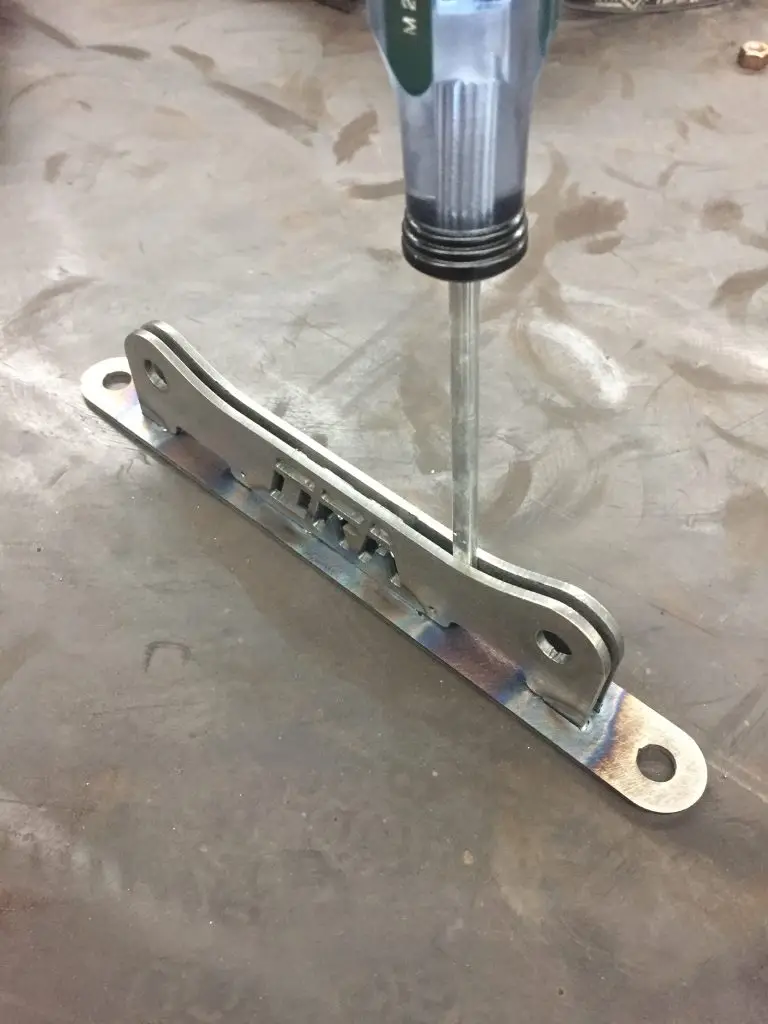
Fire Extinguisher Mount Instructions Tip:
If the two parts don't slide smooth and you need a little more room you can tap a flat head screw driver into the gap to help open it up
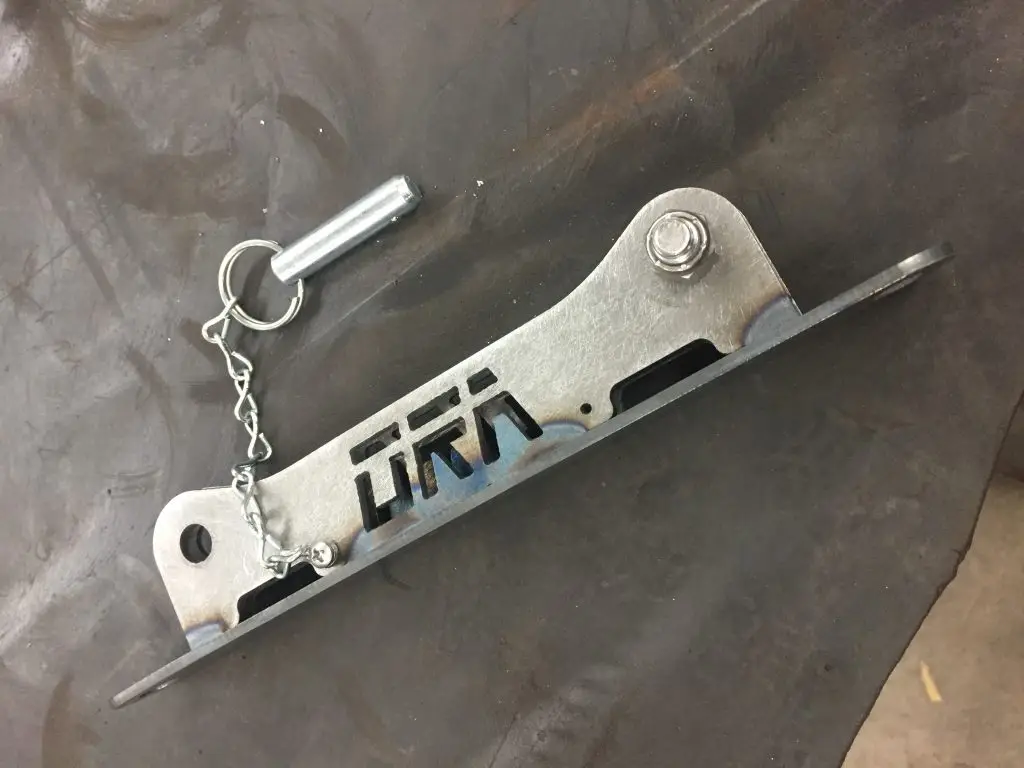
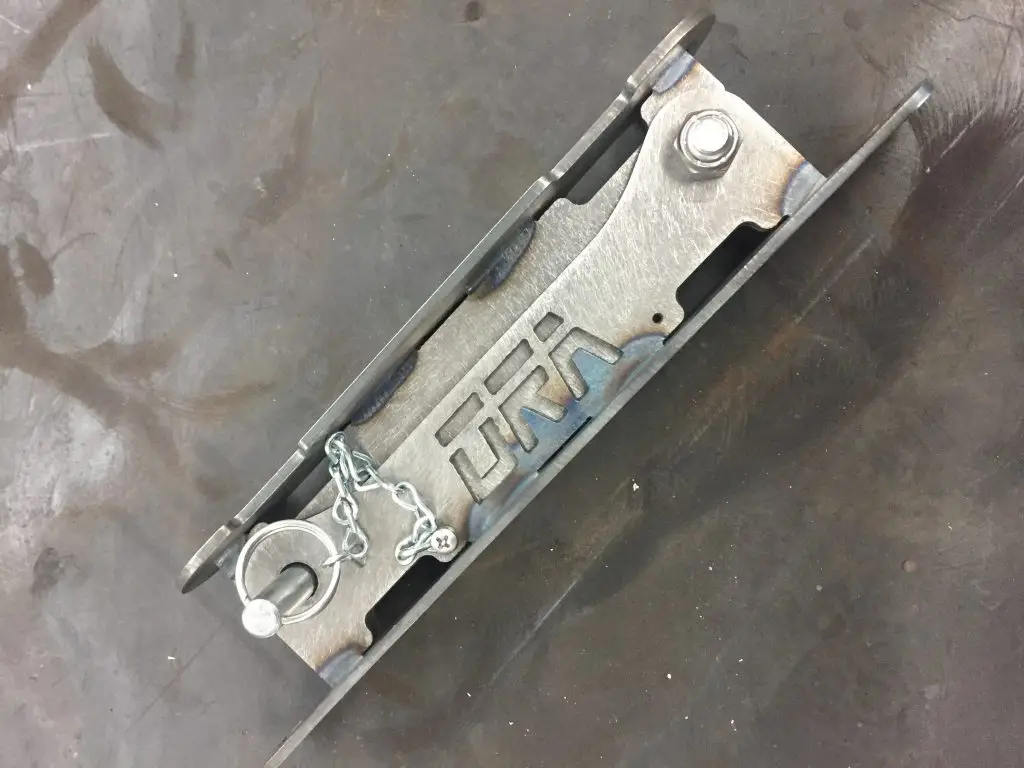
Step 6:
Now it is time to install the hardware. The side plate has two holes for options on where to mount the pin chain for ease of access options when installed. Install chain on release pin eyelet. Use the #6 screw and lock washer and screw into either small hole. Last install the 3/8" bolt on the opposite end of the pin. Tighten the nylock till it touches the side of the plate. Do not over tighten or mount wont be able to slide into each other
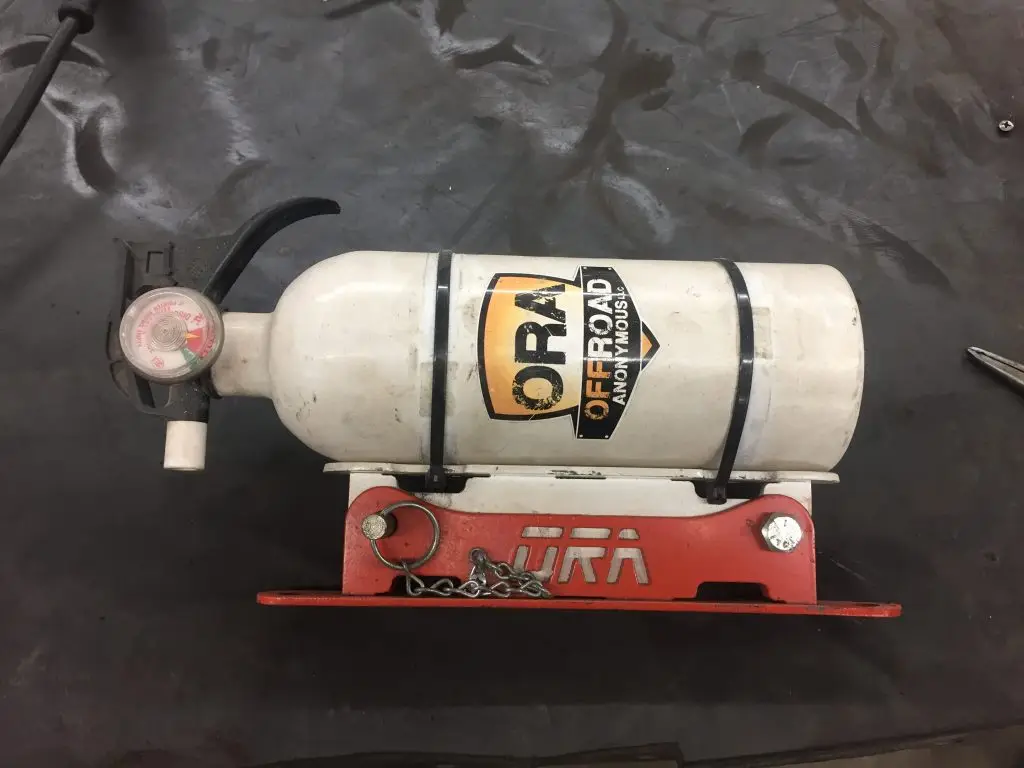
Step 7:
Now time for some paint and to install it. It can either be bolted on threw the two bolt holes on the ends or with hose clamps threw the slots. Fire extinguisher can be mounted with two hose clamps.